Most groups already have a chat. What they usually don’t have is a place where things stay put: the schedule, the photos from last month, the form everyone keeps asking for again.
That’s what a Room in Cliqra is for.
This guide takes you through the process in the order you’ll actually do it, from an empty dashboard to a room with people inside. It works just as well for a karate class, a parents’ group, a book club, or friends planning a trip.
First, Room or Page?
When you create something new in Cliqra, you’re asked to choose between a Room and a Page. Both use the same builder, but they’re designed for different purposes.
A Room is private. Only people you invite can get in, and they log in to access it. This is where conversations, files, events, photos, and member-only updates can live.
A Page is public. Anyone with the link can open it without an account. Think of it as a small website or landing page: who you are, what you do, and how people can reach you.
A simple way to decide: a Room is for people who are already part of the group; a Page is for people who aren’t yet. This guide is about the Room.
Step 1: Create the space
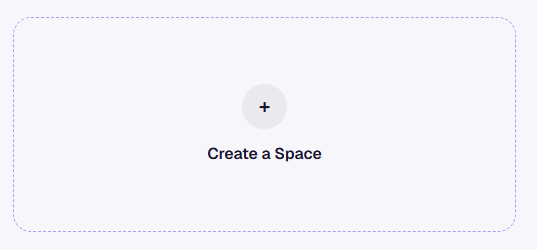
After you log in, you’ll land on the dashboard under My Spaces. At the end of the list, there’s a card with a plus sign that says Create a Space. Click it and you’ll see the two options.

Pick Private Room, enter a name (you can change it later), and click Create. You’ll be taken straight into the builder.
Nobody can see it yet. Every new Room starts as a draft.
Step 2: Choose a plan
You can build and edit a draft for as long as you want. The plan starts to matter when you’re ready to publish and bring people in.
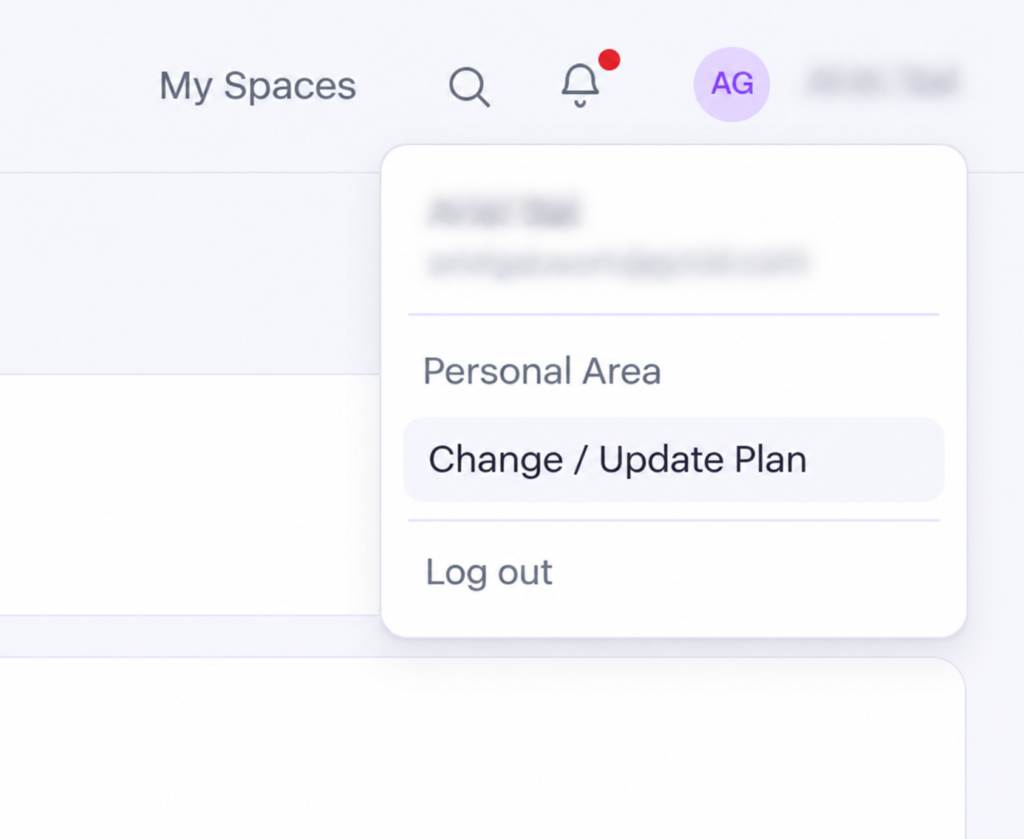
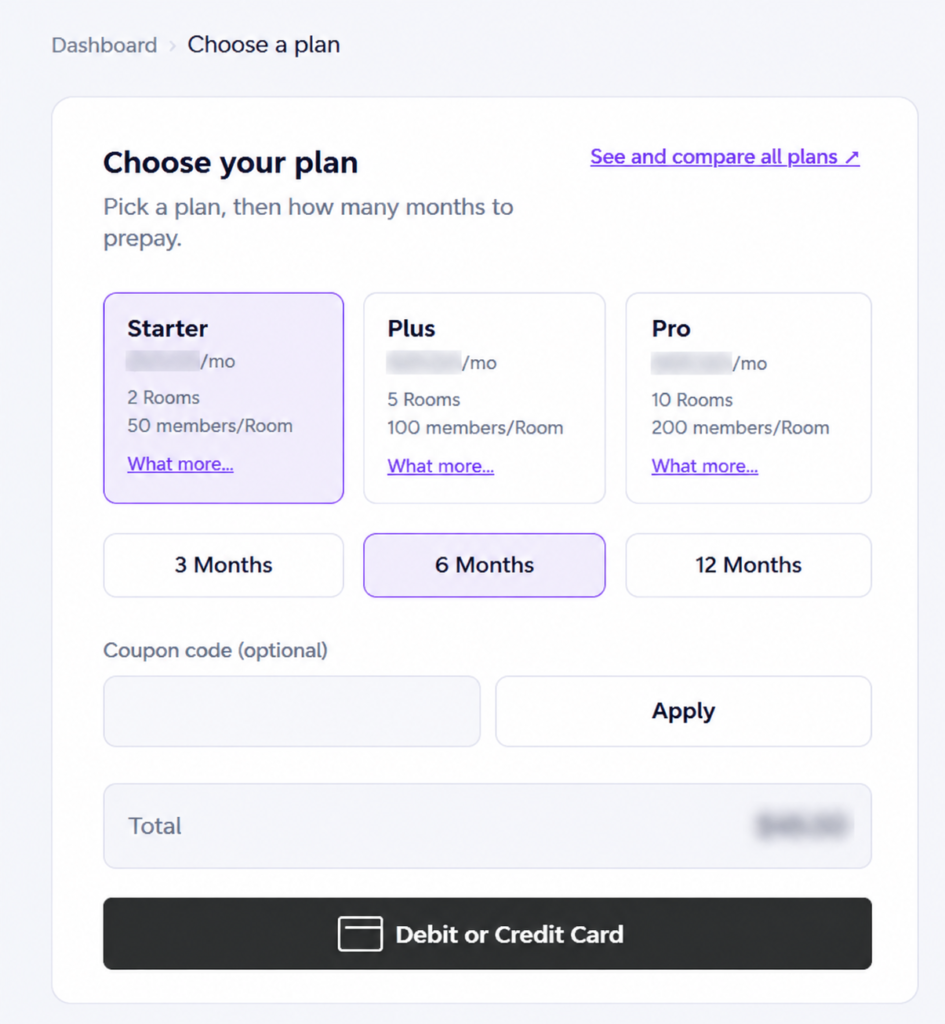
Plans differ in two main things: how many active Rooms you can run at once and how many members each Room can have. Starter supports 2 active Rooms with up to 50 members each, Plus supports 5 with up to 100 members each, and Pro supports 10 with up to 200 members each. You pay for 3, 6, or 12 months in advance, and if you have a coupon code, there’s a field for it.
One tip: plan for the biggest group you’ll run, not the average one. A class of 25 families fits comfortably within Starter. A running club that picks up new people every season might need more room.
Step 3: Build the layout
This is the part people tend to be nervous about. It’s simpler than it looks.
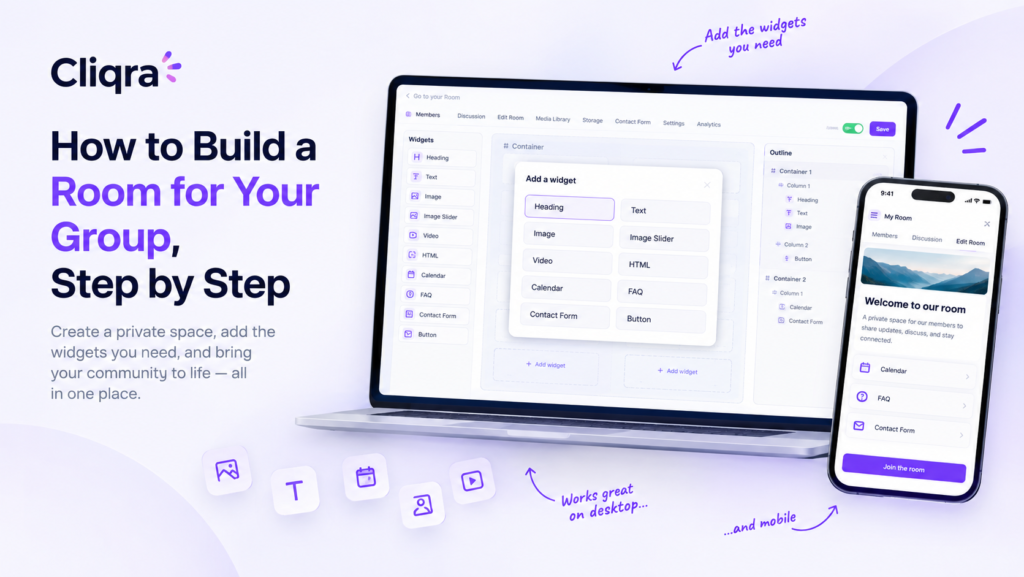
The builder has three areas. On the left is the list of widgets. In the middle is your Room. On the right is the Outline, a short map of everything on the page.
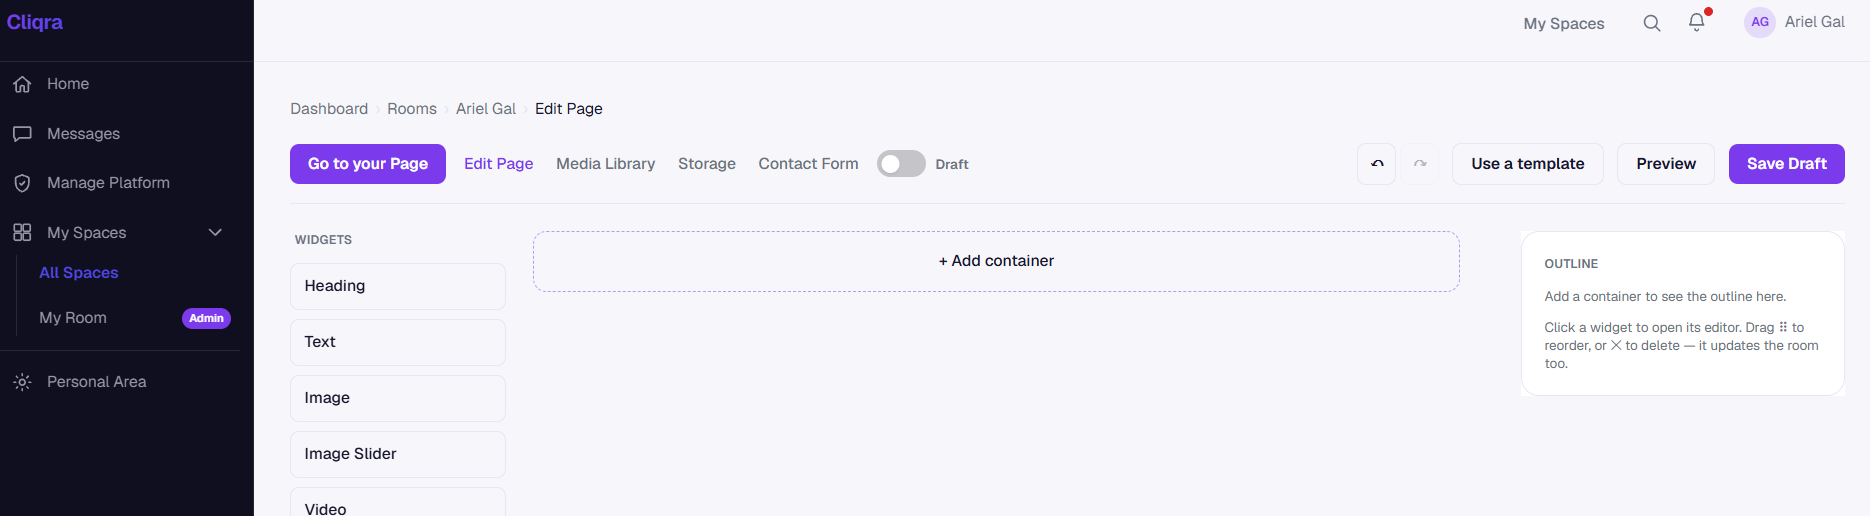
A Room is made of containers. A container is a horizontal section. Inside it, you add a row with 1, 2, or 3 columns, and then drag widgets into the columns. If you’re on your phone, or you simply don’t feel like dragging, every column has a + Add widget button that does the same thing.
To edit a widget, click it. To move things around, you can drag them in the Outline. Once the Room gets longer, this is often easier than moving things directly on the page.
Step 4: Pick your widgets
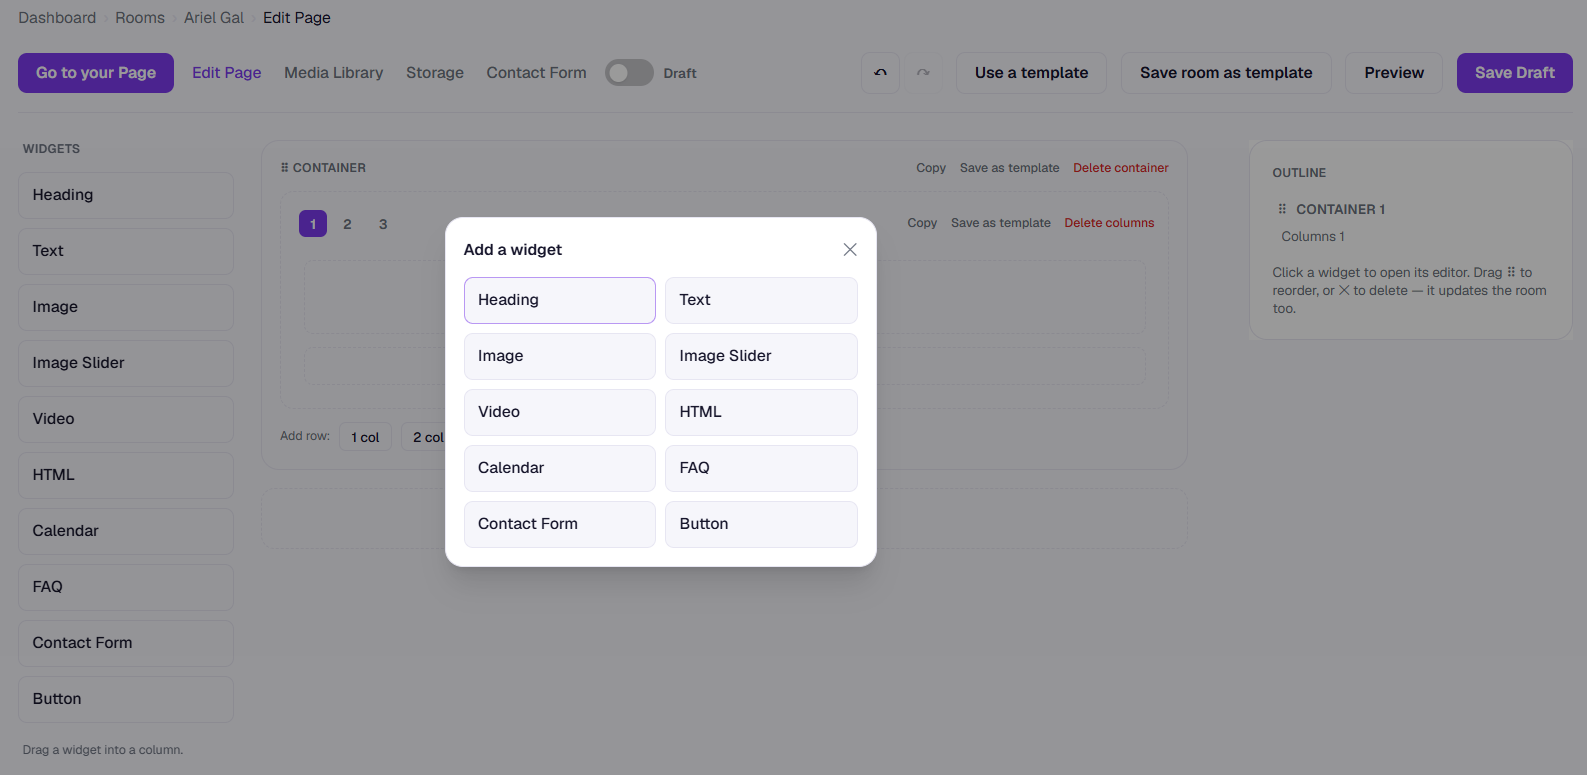 The full list includes Heading, Text, Image, Image Slider, Video, HTML, Calendar, Discussion, FAQ, Contact Form, and Button. You won’t need all of them. For most groups, these are the ones that do most of the work:
Heading and Text for the welcome message and information people only need to read once.
Calendar for meetings, practices, trips, and other events. It can display a Google Calendar you already use or keep its own events.
Discussion is really the heart of the Room. Members can post, reply, react, and mention each other with @, which sends that person a notification.
Image Slider works well for photos from the latest event or activity.
FAQ is useful for the questions you’re tired of answering in the chat: “Where do we park?” “What do we bring?”
A structure that works for many groups is a welcome section at the top, the calendar and discussion in the middle, and photos further down the page.
Step 5: Or start from a template
If an empty Room feels like too much, click Use a template at the top of the builder.
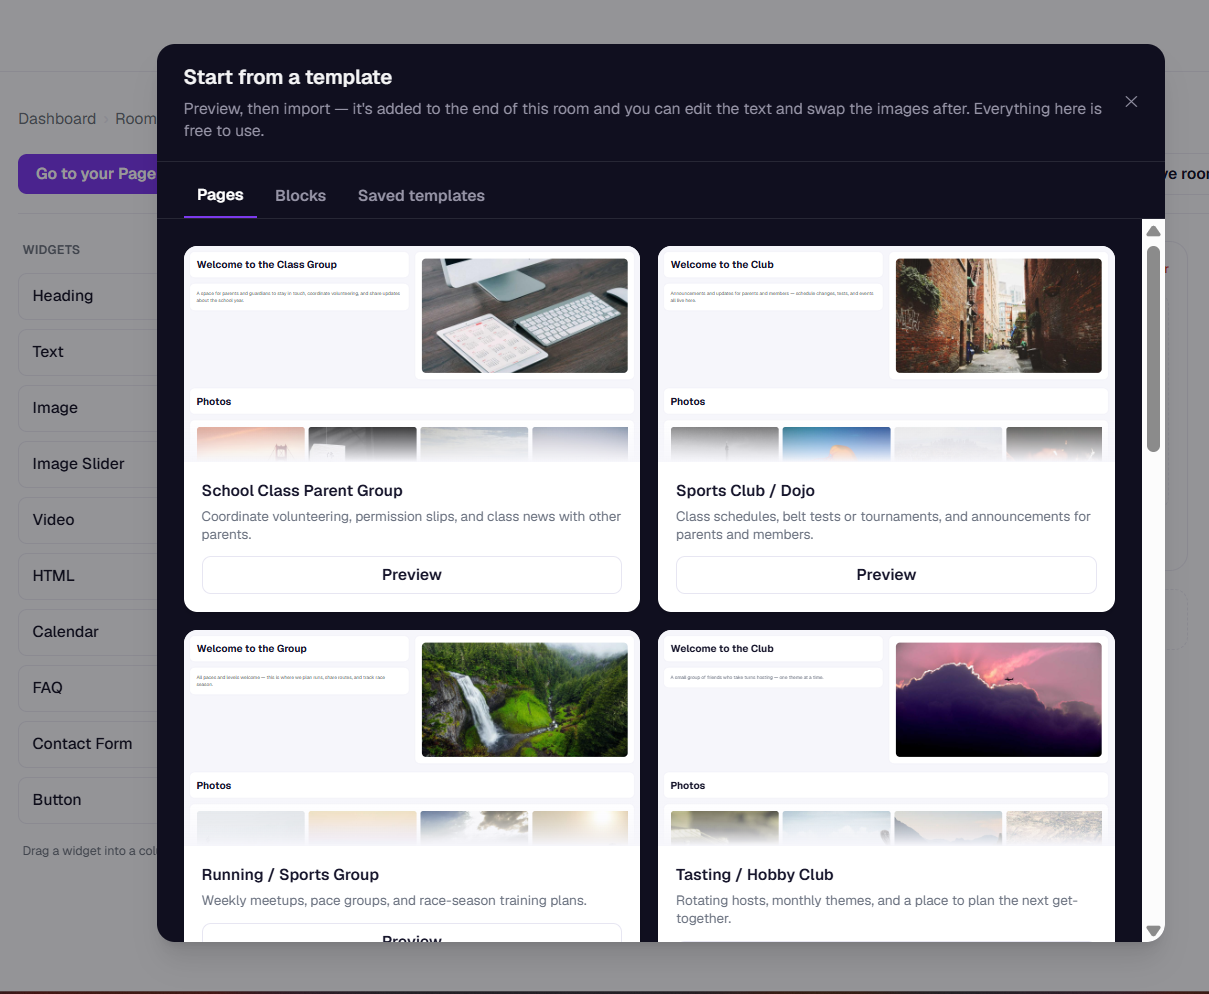
The Pages tab has complete Room templates for common types of groups, including a school class parent group, a sports club or dojo, a running group, a tasting or hobby club, friends planning a trip, and a book club.
The Blocks tab has individual sections, such as a welcome header, photo gallery, event calendar, or discussion board, which you can add to a Room you’ve already started.
Preview a template first, then import it. The template is added to the end of your Room, and you can replace the text and pictures with your own.
If you end up with a Room you like, Save room as template keeps a copy for next time. This can be particularly useful if, for example, you open a new class every September.
When everything looks right, click Preview to see the Room the way a member will see it, then click Save Draft. When you’re ready to publish, switch the status from Draft to Active.
Step 6: Invite members
Go to the Members tab. Invitations only become available once the Room is active. While it’s still a draft, you’ll see a short note asking you to publish it first.
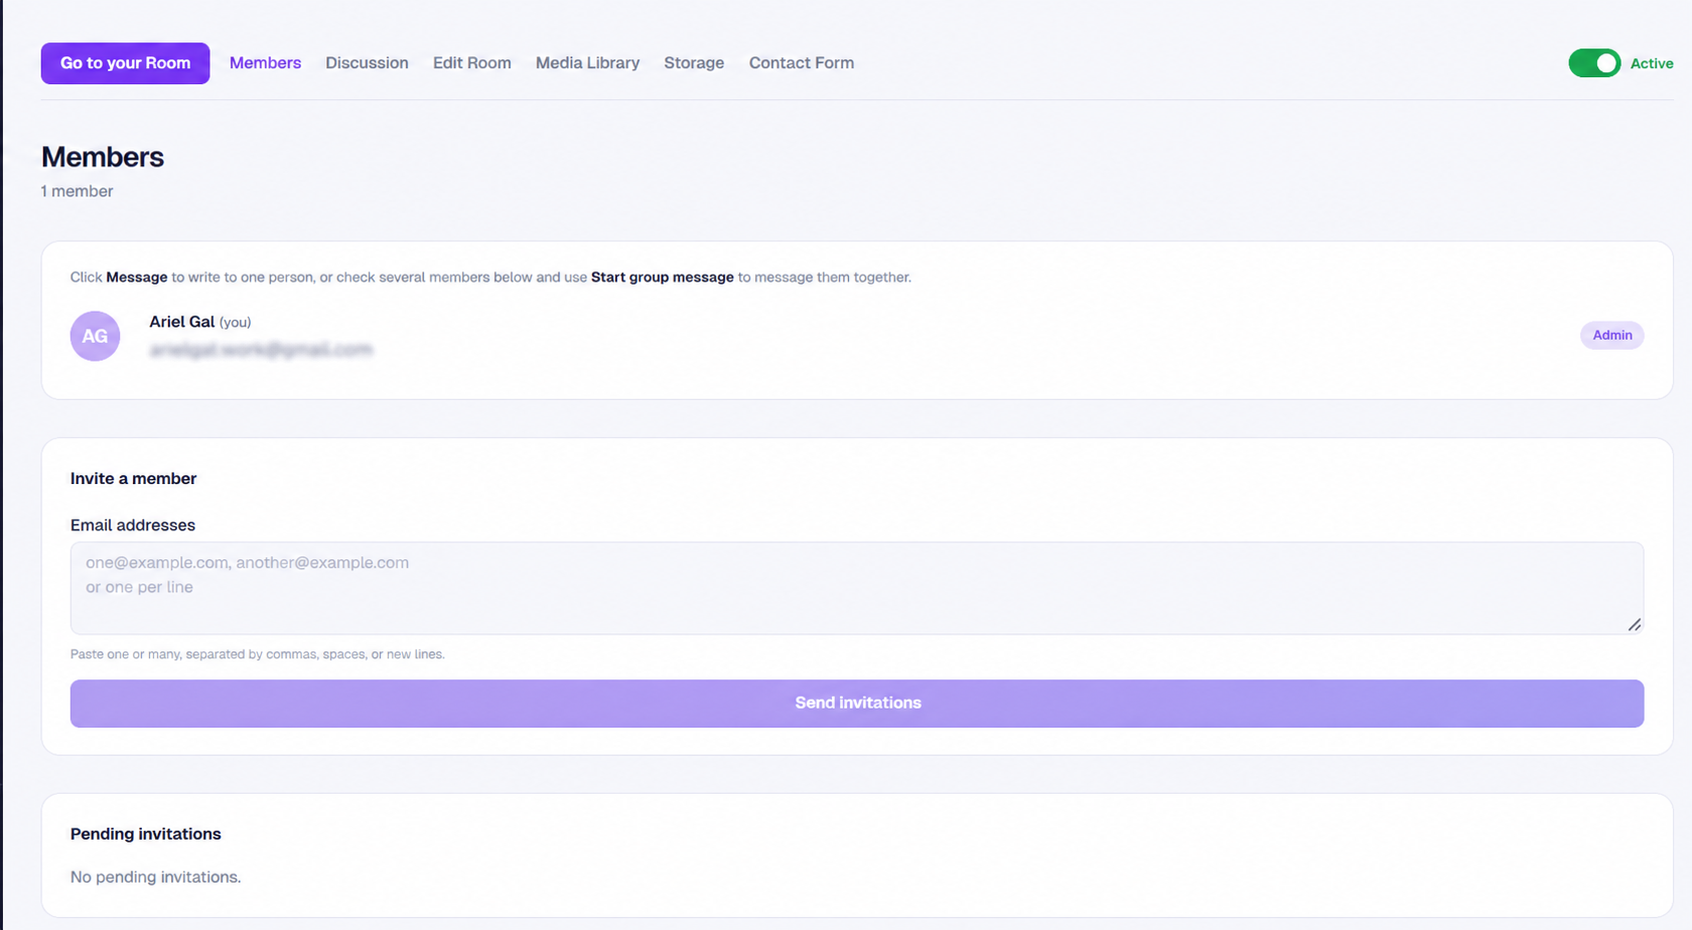
Paste the email addresses into the box. You can enter one address or fifty, separated by commas, spaces, or new lines. Then click Send invitations. Each person receives an email with a link to join.
Until they accept, they’ll appear under Pending invitations, where you can resend or cancel an invitation.
Once people are in, you can make someone an editor so they can help manage the Room. A class representative or an assistant coach, for example, can take care of many of the small tasks that otherwise fall to one person.
One small thing that makes a difference: before sending the invitations, write a first post in the Discussion. Walking into an empty Room feels strange. Something as simple as “Hi everyone, from now on the schedule and photos will be here” is enough to get things started.
Step 7: Files and photos
Every image you upload, whether in the builder or in a Discussion, goes into the Room’s Media Library. When you add an image somewhere else in the Room, you can select it from the library instead of uploading it again.
The Storage tab shows how much space the Room is using and lets you remove files you no longer need. Each plan has its own storage limit. Links to outside files don’t count toward your storage, so for larger files such as a long video, sharing a link can often be the better option.
Step 8: Private messages
Not everything belongs in front of the whole group.
On the Members tab, click Message next to someone to write to them privately. To write to several people together, select them and use Start group message. There’s also a shortcut for messaging a member privately from within the Discussion itself.
All your conversations are collected under Messages in the side menu.
A few things worth knowing before you start
Keep the first version short. A welcome section, calendar, and Discussion are enough to get started. You can add more as people actually need it.
It’s also worth telling people what the Room is for and what should stay in the group chat. If that isn’t clear, everything can quickly end up in both places, which defeats some of the purpose of having a dedicated space.
That’s it. Create the Room, keep the layout simple, publish, and invite your members. The rest can change as your group grows.