This guide takes you through the process in the order you’ll actually do it, from an empty dashboard to a published landing page you can share with anyone. You can build and design the Page yourself, add the content and features you need, and publish it without needing to build a website from scratch.
Whether you’re creating a landing page for a business, an event, a service, a club, a project, or simply a place to share information, the process is the same.
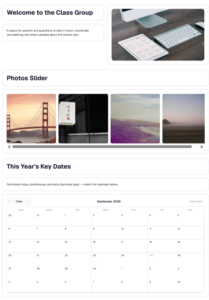
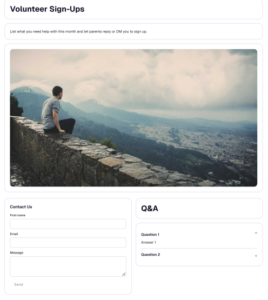
A Page Example: Note the a page can be designed, adding backround colors or images to sections and widjets, changing fonts, colors & more.
https://app.cliqra.co/page/my-page
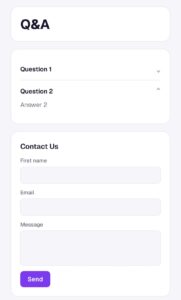
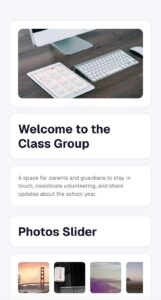
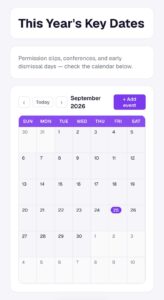
Mobile Responsive
First, Page or Room?
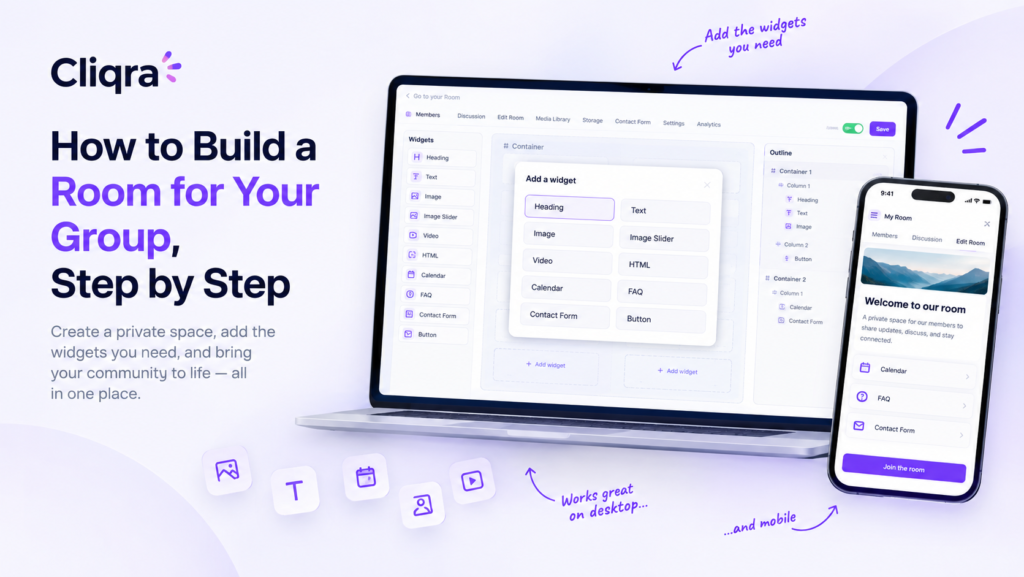
When you create something new in Cliqra, you’re asked to choose between a Page and a Room. Both use the same builder, but they’re designed for different purposes.
A Page is public. Anyone with the link can open it without creating an account or logging in. You can use it as a landing page for a business, event, service, project, club, community, or anything else you want to present online. Add your own content, images, videos, events, FAQs, contact forms, buttons, and other sections to create the Page you need.
A Room is private. Only people you invite can get in, and they log in to see it. This is where conversations, files, events, photos, and member-only updates can live.
A simple way to decide: a Page is public and designed to be shared, while a Room is private and designed for people who are already part of a group. This guide is about building a Page.
Step 1: Create the Page
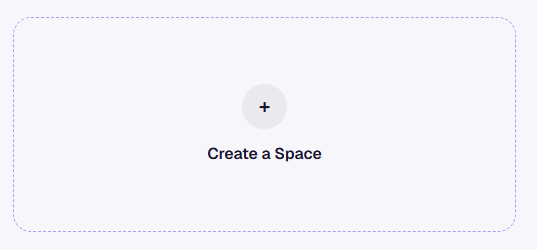
After you log in, you land on the dashboard, under My Spaces. At the end of the list there’s a card with a plus sign that says Create a Space. Click it and you’ll see the two options.
Pick Public Page, type a name, and click Create. You’re taken straight into the builder.
Nobody can see it yet. Every new Page starts as a draft, so you can build and edit it before publishing.

Step 2: Build the layout
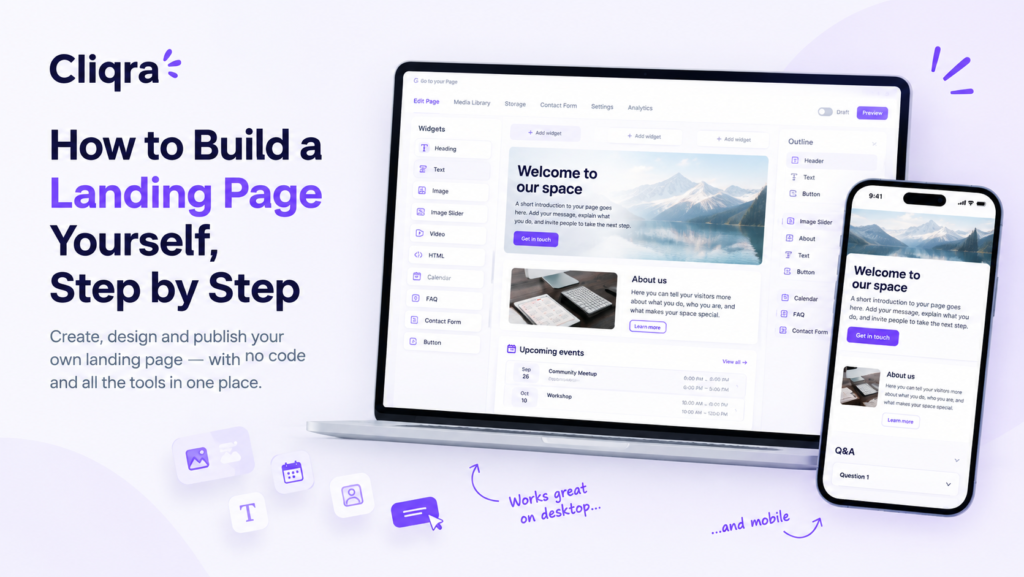
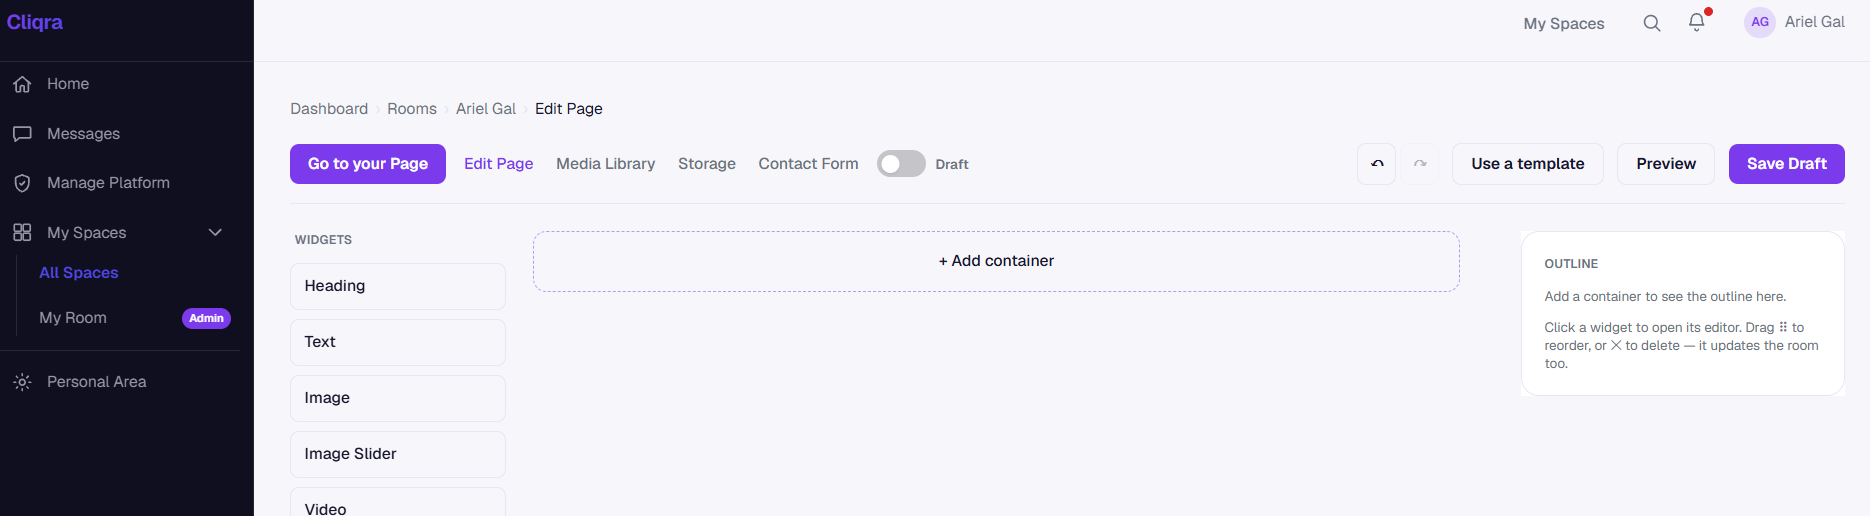
The Page builder has three areas. On the left is the list of widgets. In the middle is your Page. On the right is the Outline, a short map of everything on the Page.
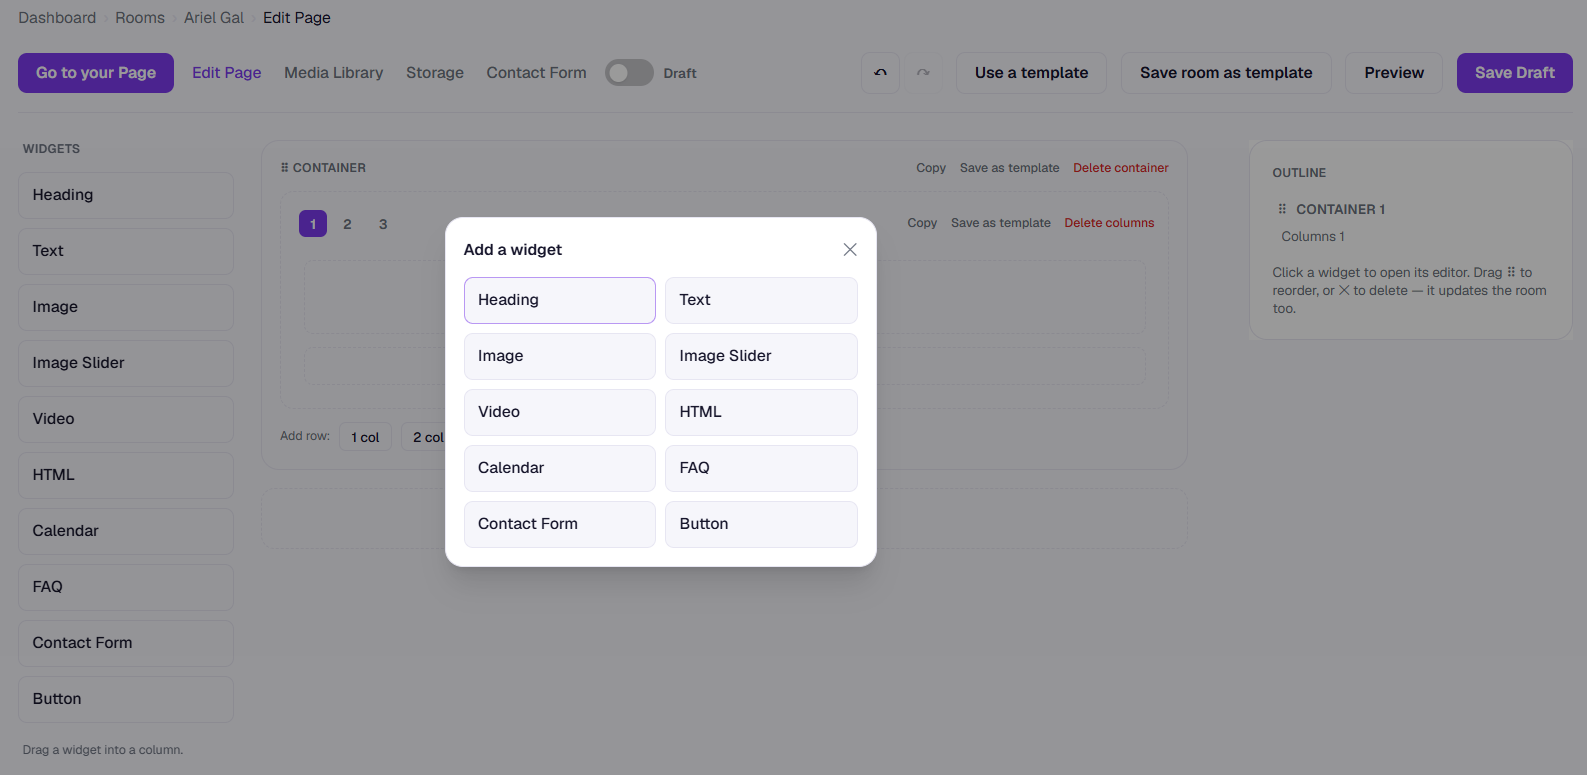
A Page is made of containers. A container is a horizontal section. Inside it, you add a row with 1, 2, or 3 columns, and then drag widgets into the columns. If you’re on your phone, or you just don’t feel like dragging, every column has a + Add widget button that does the same thing.
To edit a widget, click it. To move things around, drag them in the Outline, which becomes especially useful once the Page gets longer.
Step 3: Add your content and features
You can use all of the available Page widgets to build the landing page you need. The full list includes Heading, Text, Image, Image Slider, Video, HTML, Calendar, FAQ, Contact Form, and Button.
Each widget has a different purpose. Use Heading and Text to explain what the Page is about. Add Images or an Image Slider to showcase your product, service, event, project, or activities. Use Video when you want to explain something visually. A Calendar can display upcoming events, activities, appointments, or important dates. An FAQ can answer common questions, while the Contact Form gives visitors a simple way to get in touch. Buttons can direct visitors to another page, registration form, website, payment page, or any other link you want to share.
You can also use the HTML widget when you need to add custom content or embed something that isn’t covered by the standard widgets.
The structure depends on what you’re building. A business might start with a headline, an explanation of its service, images, FAQs, and a contact form. An event might focus on the event details, calendar, images, and registration button. A club might use an introduction, activities, upcoming dates, photos, and a contact form.
Step 4: Or start from a template
If an empty Page feels like too much, click Use a template at the top of the builder.
The Pages tab has complete ready-made layouts for common types of Pages, while the Blocks tab has individual sections, such as a welcome header, photo gallery, event calendar, FAQ, or contact section, that you can add to a Page you’ve already started.
Preview a template first, then import it. The template is added to your Page, and you can replace the text, images, links, and other content with your own.
If you create a Page layout you want to use again, Save Page as template keeps a copy for next time.
When it looks right, click Preview to see the Page as a visitor will see it, then Save Draft.
Step 5: Publish your Page
When you’re ready, switch the Page from Draft to Active.
Once it’s active, your Page has its own public link. Visitors don’t need a Cliqra account and don’t need to log in. They simply open the link and see the Page.
There’s no need to add members or send invitations. The Page is designed to be shared. Copy the link and send it to whoever you want to reach — through WhatsApp, email, social media, a newsletter, or anywhere else.
Step 6: Share the Page
A landing page is useful when you need one clear place to send people. Instead of sending different links, files, messages, and information, you can put everything visitors need on one Page and share a single link.
For example, a small business could use a Page to explain its services and collect enquiries. An event organizer could share the event details, schedule, photos, FAQs, and registration link. A club could introduce its activities and provide upcoming dates and a contact form. A freelancer could use it as a simple service or portfolio page.
The important difference from a Room is that you don’t need to know who will visit the Page in advance. Anyone with the link can open it.
A few things worth knowing before you start
Keep the first version focused. Start with the information visitors actually need and add more sections when they become useful.
Think about what you want someone to do after visiting the Page. Contact you? Register? Book something? Visit another website? Find an event? Make that next step easy to find with a clear Button or Contact Form.
That’s it. Create the Page, build the layout, add your content and features, publish it, and share the link. You can keep updating the Page whenever you need.